Pages

Showing posts with label Bronte Top. Show all posts

Wednesday, 20 July 2016

FO's: Tops for me - a Burda and a Bronte

So, still catching up with posts.  Here are a couple of tops that I made for myself earlier this year, both of which made appearances in MMM16.  I have made both of these top before and made a couple of tweaks to both.

The first is the Jennifer Lauren Vintage Bronte Top. I first made this in 2015 in a lovely coral jersey and have really enjoyed wearing it.  I bought some amazing light teal jersey with a brushed reverse, from a local shop that has since closed down. I remembered that I had wanted to lengthen the top the first time round, but had made a cutting error.  This time was more successful and I had a lovely top pretty quickly.  I think I have enough left over to make something else.
I thought that having any embelishement on the top might make it feel a bit twee but, I found some buttons left over from making Husband a couple of shirts and they match perfectly! Looking at the picture below, I think I may need to cut a smaller size in the shoulder as I don't think that the shoulder seam is supposed to sit off the shoulder like that. 
picture nabbed from MMM16
The second top is a Burda youth pattern that I made some years ago in a drapey magpie jersey that I got from Marie of A Stitching Odessey at a meet-up in London. The magpie top is still going, although I may have to retire it soon as it is looking a bit faded. It had a very long body and a deep band at the hip - if I wore opaque tights or leggings it would almost be dress, but I wear it very ruched on the hip.

The new top used up some fabric that I bought sometime ago, with the aim of trying to recreate a dress from Cos that I had tried on:
 
I decided that a- I couldn't get the dress out to the quantity of fabric in the way that I wanted, and b- I would get more wear from a top.  The fabric is quite striking and I wanted the pattern to come up from the waist with a plainer area at the neck.  Once I decided on a top, I knew that I wanted to use the Burda pattern to show off the fabric.

Having noted how long the magpie version of this is, I reduced the length of the body (can't remember by how much)  and reduced the depth of the band by half.  It seemed like a lot, but was perfect.  I started this one morning and amazingly for me, had it finished by the end of the school day - extraordinary what you can get done if you make a conscious decision not be distracted by other activities!


on my way to a party

With the party girls  husband

Two very successful tops that have seen a lot of wear since they were made.


Wednesday, 10 June 2015

FO: Coral Bronte Top

Bronte Knit Top Ladies PDF Sewing Pattern Multi Size 6 to 24


Still catching up with unblogged makes!

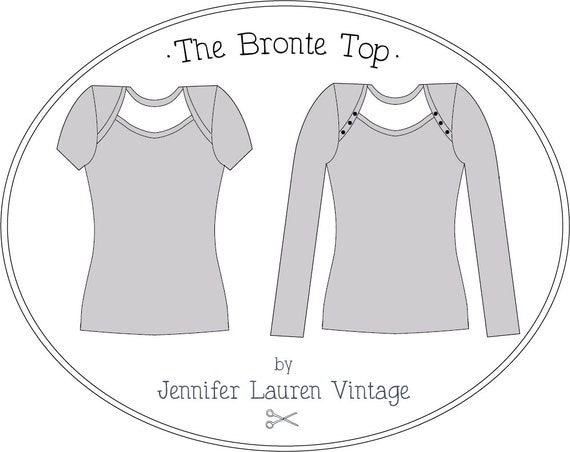
This pattern has been around for a while and I eventually bought it as part of a Pattern Bundle last summer, along with the True Bias Hudson Pants and the Mouse House Creations Julia Cardigan amongst others.

I hadn't been that taken with the Bronte top when it first came out, but as ever, once other people's versions start popping up on the internet I began to warm to it.  I realise now that my top is almost the same as one of the ones Jennifer made for her pattern photos.

Around the same time, I was re-watching the series Castle with my two older girls and had noticed that the female lead, Kate Beckett, had a top that she wore (I think in series 3) that had a similar neckline. She had a couple of these in different colours:


Beckett's top is in a much stretchier fabric and the back neck is much higher. An idea began to form....

The fabric for this came from one of my first visits to Goldhawk Road and my intention was to make a copy of a summer top that I had. That never happened, and the fabric would have been too thick for that particular top any way.

I cut the top out in a single layer in order to get all the pieces on the fabric, at which point I nearly had a disaster. I had pinned along the centre back with a view to flipping the pattern piece over and cutting the other side... and I started cutting up the centre back..... I tried to rescue it by zig-zagging the cut bit together, but it didn't really work

Fortunately I had added extra length to the top and I ended up just sacrificing that extra length without compromising the top, phew! I also added a band at the bottom to add back some of the length that I lost.

It's a while since I made this top, but seemed pretty straight forward.  There is a lot of information in the instructions about working with knits and how to choose the best type of knit for this pattern. I think that my fabric is just on the limit of suitable.  My machine struggled with the thickness of sewing through multiple layers of binding when attaching the sleeves. I overlocked the armhole seams after sewing with a narrow zigzag, but I ended up unpicking the overlocking as it made the seam quite stiff and uncomfortable and really noticeable on the outside. The knit is pretty stable so I didn't bother trying to finish any of the other seams.

Unusually I haven't got any 'hanger shots' for detail, but here are a couple of different shots of me wearing it - the one with the skirt was taken not long after I made it in January, and the other photo is from my Me-Made-May photos.


Saturday, 9 May 2015

FO: Self drafted Jumbo corduroy skirt

I have been doing a pattern cutting course for some time. We have made bodice, skirt, dress, trouser and jacket blocks to fit ourselves and have drafted variations on each. Up until recently I have not actually made any of the patterns we had drafted, other than the toiles required to perfect the blocks.

A little while ago I thought it was high time I remedied this and made a pair of trousers (post to come). Spurred on by this I had a vision of a skirt that had an inverted pleat and pockets at the front.

And I had the perfect fabric - a lovely jumbo corduroy that I bought at my local market some time ago:
To make my skirt I used the pattern we had drawn up for an inverted pleat front skirt:
front to be cut as one piece
and the pocket front skirt:

I knew I didn't want it as long as the block we drafted or as flared. The pleat in the front was all wrong to start with - as drafted the pleat is wider at the bottom to help the fabric hang better when it is made up. This didn't work with the corduroy as it cut across the wale of the cord and looked terrible! I then folded the pleat so that it was equal all the way down and followed the lines of the cord which worked much better.
My teacher said to cut away the back of the pleat to minimise bulk at the waistband
I used some chambrey-like fabric for the pocket lining as the cord was too thick, and I also used it for a facing instead of a waistband. I have lost some weight since making my block, so I had to take in the sides quite a bit at the waist and hip.

I have worn this skirt loads since I made and really like it. I thought the pockets would be enormous, but they are perfect. It is pretty much exactly as I imagined it to be - that doesn't happen very often, so I am super chuffed!

worn with unblogged Bronte Top

the skirt sits at my waist

Also, a month or so after I finished it a Boden catalogue popped through the door with this skirt which I think looks pretty similar: